2. It is possible that the infection you are trying to remove will not allow you to download files on the infected computer. If you run into this problem when following the steps in this guide you will need to download the files requested in this guide on another computer and then transfer them to the infected computer. You can transfer the files via a CD/DVD, external drive, or USB flash drive.
3. Reboot your computer into Safe Mode with Networking. When the computer reboots into Safe Mode with Networking make sure you login with the username you normally use. When you are at your Windows desktop, please continue with the rest of the steps.
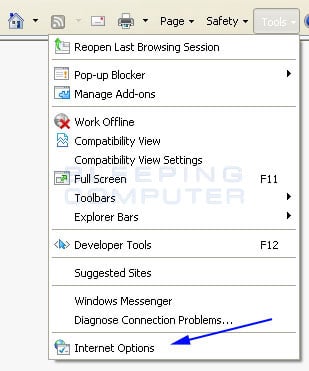
4. Please start Internet Explorer, and when the program is open, click on the Tools menu and then select Internet Options as shown in the image below.
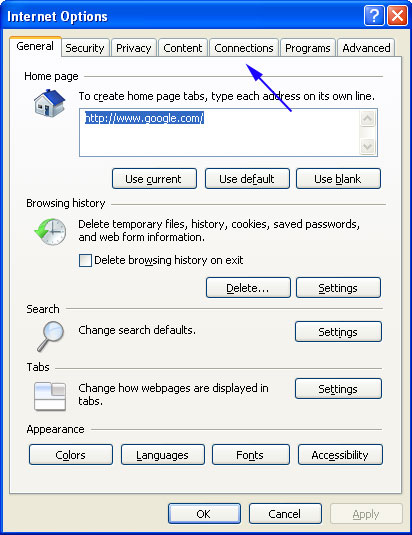
5. You should now be in the Internet Options screen as shown in the image below. Click on the Connections tab as designated by the blue arrow above.
6. Click on the Lan Settings button as designated by the blue arrow above.
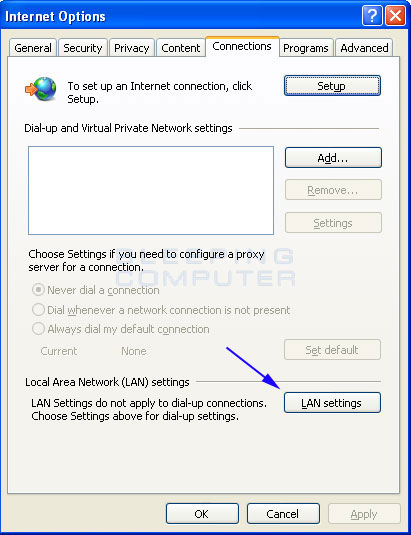
7. Under the Proxy Server section, please uncheck the checkbox labeled Use a proxy server for your LAN. Then press the OK button to close this screen. Then press the OK button to close the Internet Options screen. Now that you have disabled the proxy server you will be able to browse the web again with Internet Explorer.
8. Now we must end the processes that belong to MS Removal Tool so that it does not interfere with the cleaning procedure. To do this, please download RKill to your desktop. When at the download page, click on the Download Now button labeled iExplore.exe download link. When you are prompted where to save it, please save it on your desktop. If you are unable to connect to the site to download RKill, please go back and do steps 3-6 again and make sure the infection has not reenabled the proxy settings. You may have to do this quite a few times before you can get RKill downloaded. If you still cannot download the RKill program on the infected computer, you should download it to a clean computer and copy it to the infected one via a USB flash drive or CDROM.
9. Once it is downloaded, double-click on the iExplore.exe icon in order to automatically attempt to stop any processes associated with MS Removal Tool and other Rogue programs. Please be patient while the program looks for various malware programs and ends them. When it has finished, the black window will automatically close and you can continue with the next step. If you get a message that RKill is an infection, do not be concerned. This message is just a fake warning given by MS Removal Tool when it terminates programs that may potentially remove it. If you run into these infections warnings that close RKill, a trick is to leave the warning on the screen and then run RKill again. By not closing the warning, this typically will allow you to bypass the malware trying to protect itself so that RKill can terminate MS Removal Tool . So, please try running RKill until the malware is no longer running. You will then be able to proceed with the rest of the guide. Do not reboot your computer after running RKill as the malware programs will start again.
10. Download Malwarebytes' Anti-Malware
11. Once downloaded, close all programs and Windows on your computer, including this one.
12. Double-click on the icon on your desktop named mbam-setup.exe. This will start the installation of MBAM onto your computer.
13. When the installation begins, keep following the prompts in order to continue with the installation process. Do not make any changes to default settings and when the program has finished installing, make sure you leave both the Update Malwarebytes' Anti-Malware and Launch Malwarebytes' Anti-Malware checked. Then click on the Finish button. If MalwareBytes' prompts you to reboot, please do not do so.
14. MBAM will now automatically start and you will see a message stating that you should update the program before performing a scan. As MBAM will automatically update itself after the install, you can press the OK button to close that box and you will now be at the main program as shown below.
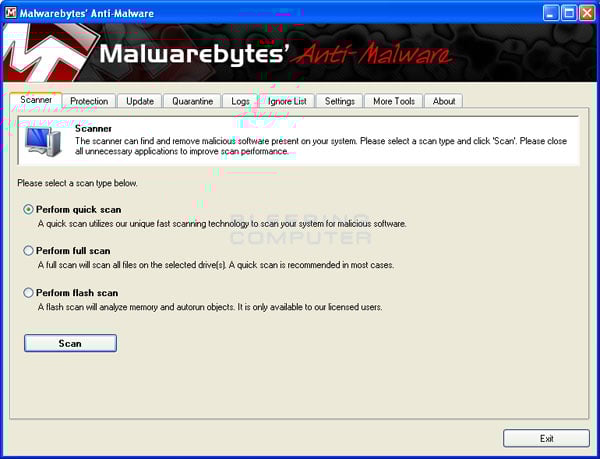
15. On the Scanner tab, make sure the the Perform full scan option is selected and then click on the Scan button to start scanning your computer for MS Removal Tool related files.
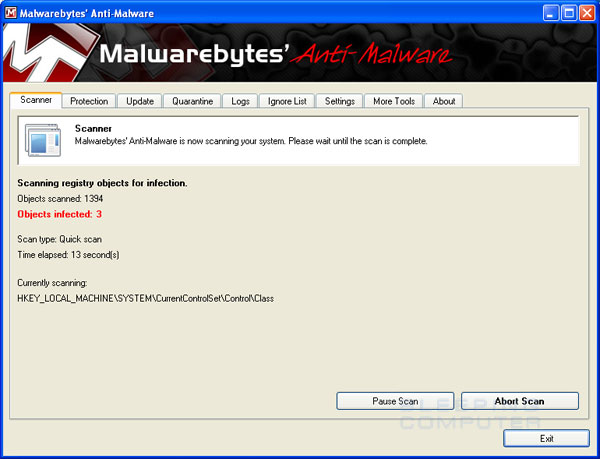
16. MBAM will now start scanning your computer for malware. This process can take quite a while, so we suggest you go and do something else and periodically check on the status of the scan. When MBAM is scanning it will look like the image below.
17. When the scan is finished a message box will appear as shown in the image below. Click on the OK button to close the message box and continue with the MS Removal Tool removal process.
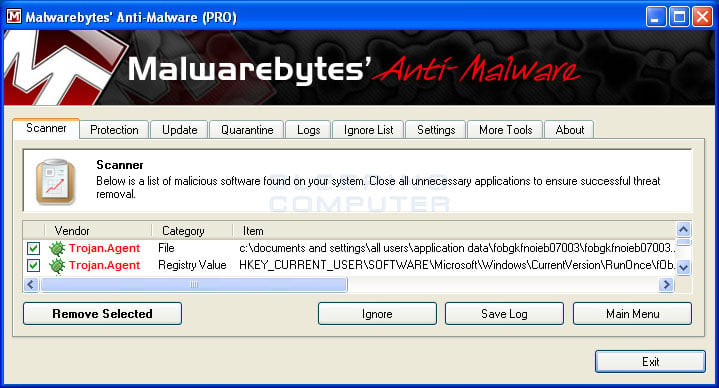
18. You will now be back at the main Scanner screen. At this point you should click on the Show Results button
19. You should now click on the Remove Selected button to remove all the listed malware. MBAM will now delete all of the files and registry keys and add them to the programs quarantine. When removing the files, MBAM may require a reboot in order to remove some of them. If it displays a message stating that it needs to reboot, please allow it to do so. Once your computer has rebooted, and you are logged in, please continue with the rest of the steps.
20. When MBAM has finished removing the malware, it will open the scan log and display it in Notepad. Review the log as desired, and then close the Notepad window.
21. You can now exit the MBAM program
22. Now reboot your computer.
84
BalasHapus